
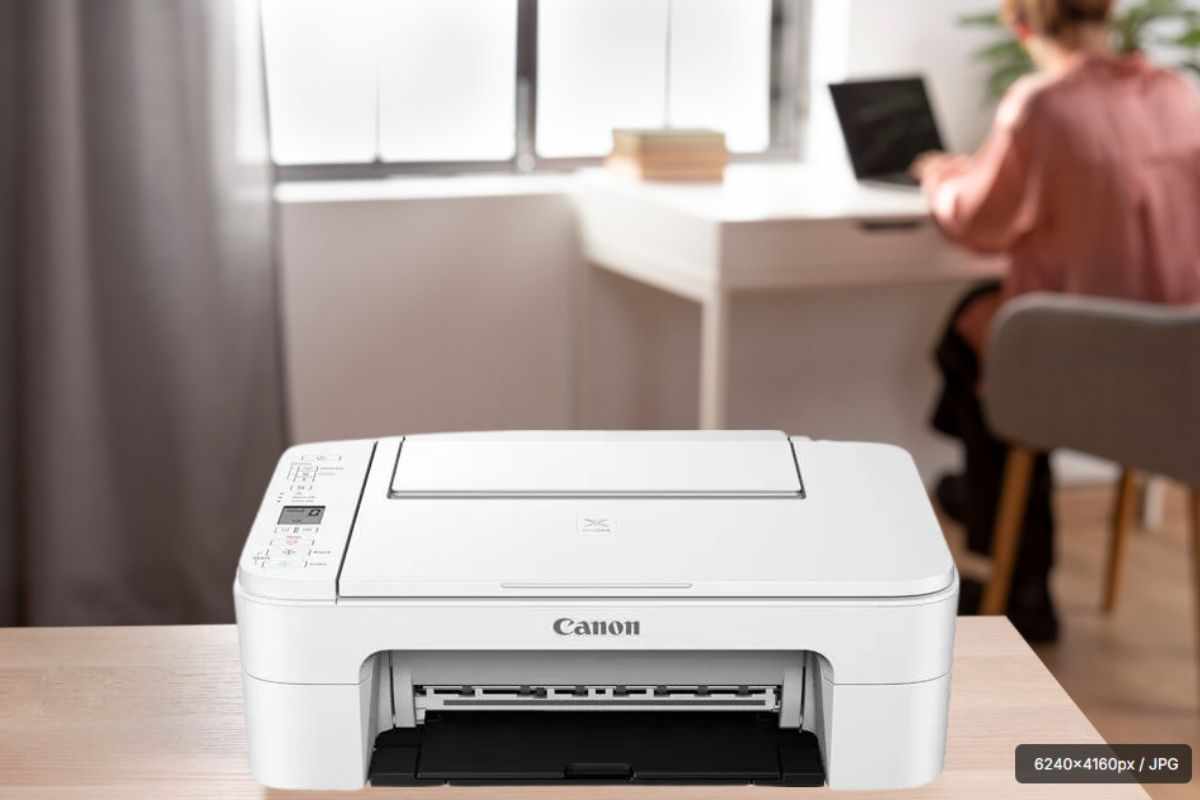
Learn how to connect Canon printer to WiFi and start printing wirelessly with easy setup steps. Use the control panel, WPS button, or Canon PRINT app to link your printer to your network. Once connected, enjoy seamless, cable-free printing from your laptop, smartphone, or tablet anytime, anywhere.
👉 Need more help? [Click Here: Live Chat] [Dial +1-801-878-6858 USA]
1. Understanding Canon Wireless Printers
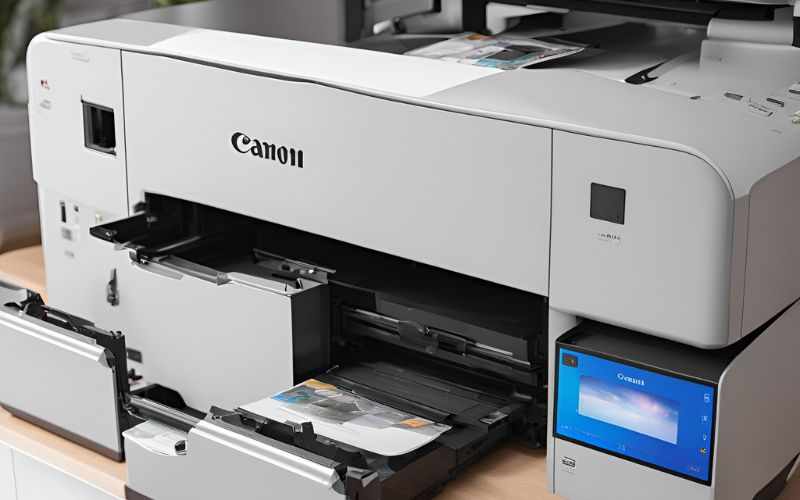
Canon wireless printers come with built-in Wi-Fi functionality, enabling them to connect to your home or office network without needing physical cables. Once connected, you can send print commands from multiple devices on the same network.
Popular Canon wireless printer models include:
Canon PIXMA series (e.g., PIXMA MG3620, TS5320, G3020, TR8620)
Canon MAXIFY series
Canon SELPHY series
Canon imageCLASS wireless printers
The setup process is simple but varies slightly depending on your model. Let’s explore how it works.
2. Benefits of Connecting Canon Printer to WiFi
Before diving into the setup steps, let’s understand why connecting your printer to Wi-Fi is so useful:
Wireless Convenience: Print from anywhere within your Wi-Fi range.
Multi-Device Support: Connect multiple devices such as laptops, phones, and tablets.
Less Clutter: Eliminate USB cables and messy connections.
Cloud Printing: Use Canon PRINT Inkjet/SELPHY or Google Cloud Print for remote printing.
Easy Sharing: Everyone in your home or office can use the same printer.
3. Requirements Before You Begin
Before setting up your Canon printer wirelessly, ensure you have the following ready:
A Canon wireless printer with Wi-Fi capability.
A Wi-Fi network (2.4GHz is usually preferred for better compatibility).
The network name (SSID) and Wi-Fi password.
A laptop, desktop, or smartphone connected to the same Wi-Fi network.
The Canon printer driver or Canon PRINT Inkjet/SELPHY app.
4. How to Connect Canon Printer to WiFi (Using Control Panel Method)
This is the most common method for connecting a Canon printer to Wi-Fi. Follow these steps carefully:
Step 1: Power On Your Printer
Make sure your Canon printer is turned on and in ready mode. If the Wi-Fi light is blinking or off, proceed to the next step.
Step 2: Access the Wi-Fi Setup Menu
On your printer’s control panel:
Press the Menu, Wi-Fi, or Settings button (depending on model).
Navigate to Wireless LAN Setup and press OK.
Step 3: Choose Your Connection Type
The printer will start searching for available networks. Select Wi-Fi Setup Wizard from the options.
Step 4: Select Your Network
A list of available Wi-Fi networks will appear. Select your home or office Wi-Fi network (SSID).
Step 5: Enter Your Wi-Fi Password
Use the keypad or touchscreen to enter your password.
Press OK to confirm.
Step 6: Confirm Connection
Once the connection is established, the Wi-Fi indicator light will turn solid blue. You can print a network configuration page to verify successful setup.
5. How to Connect Canon Printer to WiFi Using WPS Button
If your Wi-Fi router supports WPS (Wi-Fi Protected Setup), you can connect your printer quickly without entering a password.
Step 1: Turn On Your Canon Printer
Ensure your printer is on and ready.
Step 2: Press the Wi-Fi Button
Hold the Wi-Fi button on your printer until the Wi-Fi lamp flashes.
Step 3: Press the WPS Button on Your Router
Within 2 minutes, press the WPS button on your Wi-Fi router. The printer and router will communicate automatically.
Step 4: Wait for Connection
The printer’s Wi-Fi light will stop flashing and stay lit steadily, indicating a successful connection.
This method is ideal for quick setups without needing a computer.
6. How to Connect Canon Printer to WiFi Using Canon PRINT Inkjet/SELPHY App
If you prefer using your smartphone, the Canon PRINT Inkjet/SELPHY app provides an easy, user-friendly way to connect your printer to Wi-Fi.
Step 1: Download the App
For Android: Open Google Play Store and search for Canon PRINT Inkjet/SELPHY.
For iPhone: Download it from the App Store.
Step 2: Turn On Your Printer
Ensure it’s in setup mode. If not, press and hold the Wi-Fi button until the indicator flashes.
Step 3: Open the App
Launch the Canon PRINT app and select Add Printer.
Step 4: Connect to Printer
The app will search for available printers. Select your model when it appears.
Step 5: Connect to Wi-Fi
Follow on-screen instructions to enter your Wi-Fi credentials. Once done, the printer will connect to your wireless network.
Step 6: Print Test Page
You can now print or scan wirelessly using your smartphone.
7. How to Connect Canon Printer to WiFi Using USB (for First-Time Setup)
Some Canon printers require an initial setup using a USB cable before switching to Wi-Fi mode.
Step 1: Connect the USB Cable
Plug one end into your printer and the other into your laptop or PC.
Step 2: Install Drivers
Download drivers from ij.start.canon and follow the on-screen instructions.
Step 3: Choose Connection Type
When prompted, select Wireless Connection.
Step 4: Enter Wi-Fi Details
Input your network name and password.
Step 5: Disconnect the Cable
Once setup is complete, unplug the USB cable. The printer will now connect automatically to your Wi-Fi.
8. Installing the Printer Driver
After connecting your printer to Wi-Fi, you need to install the correct printer driver on your laptop or desktop.
Step 1: Visit Canon’s Official Website
Go to https://ij.start.canon.
Step 2: Enter Your Printer Model
Type your model number in the search box (e.g., Canon PIXMA G3020).
Step 3: Choose Your Operating System
Select Windows or macOS, depending on your computer.
Step 4: Download and Install
Download the Full Driver & Software Package, open the installer, and follow on-screen instructions.
Once installed, your printer will appear in Devices and Printers.
9. How to Connect Canon Printer to WiFi on Windows 10/11
If your Canon printer is already connected to Wi-Fi, follow these steps to add it to your Windows system:
Go to Start > Settings > Devices > Printers & Scanners.
Click Add a Printer or Scanner.
Wait for Windows to detect your Canon printer.
Select your printer from the list and click Add Device.
You can now print wirelessly from any application.
10. How to Connect Canon Printer to WiFi on macOS
For macOS users, connecting the Canon printer is just as easy.
Click the Apple Menu > System Preferences > Printers & Scanners.
Click the + button to add a new printer.
Select your Canon printer from the list.
Choose the correct driver from Canon’s website if needed.
Your Canon printer is now connected wirelessly to your Mac.
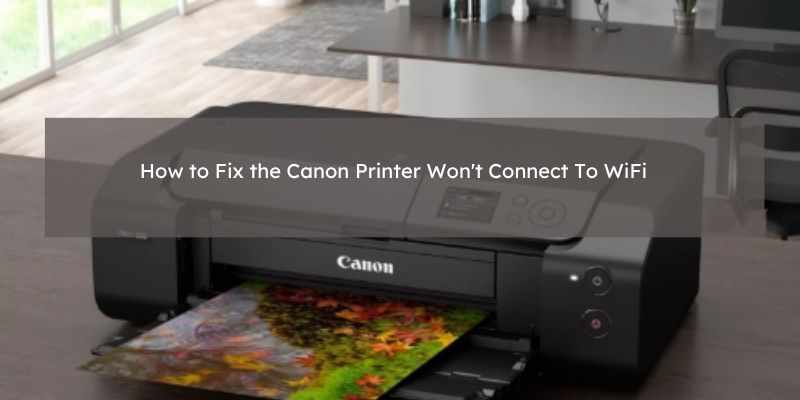
11. Troubleshooting Canon Printer WiFi Connection Issues
Sometimes, the connection may fail due to configuration errors or network issues. Here’s how to fix them.
Problem 1: Printer Not Found on Wi-Fi
Check if your printer’s Wi-Fi light is on.
Ensure your printer and laptop are on the same Wi-Fi network.
Restart your router and printer.
Problem 2: Incorrect Password
Re-enter your Wi-Fi password carefully.
Remember that passwords are case-sensitive.
Problem 3: Printer Keeps Disconnecting
Ensure your Wi-Fi signal strength is strong.
Update your printer’s firmware from Canon’s website.
Avoid connecting to 5GHz networks unless your printer supports it.
Problem 4: Windows or Mac Doesn’t Detect Printer
Uninstall and reinstall the printer driver.
Reboot your system.
Add the printer manually by IP address in Printer Settings.
12. Tips for Stronger Wi-Fi Connection
Place the printer near the router for better signal.
Avoid obstacles like walls or metal furniture between the devices.
Keep your router firmware updated.
Restart your router every few weeks for stable performance.
13. Using Canon PRINT Inkjet/SELPHY for Wireless Printing
Once your printer is connected to Wi-Fi, you can use the Canon PRINT Inkjet/SELPHY app to print and scan easily.
Features include:
Wireless photo and document printing.
Checking ink levels remotely.
Scanning directly to your phone.
Cloud integration for Google Drive, Dropbox, etc.
It’s available for both Android and iOS.
14. Using Canon IJ Scan Utility Wirelessly
If your Canon printer includes a scanner, you can use the Canon IJ Scan Utility to scan documents wirelessly.
Steps:
Open the IJ Scan Utility on your computer.
Ensure your printer is connected to the same Wi-Fi.
Choose Auto, Document, or Photo mode.
Click Scan.
Your scanned file will appear in the specified folder.
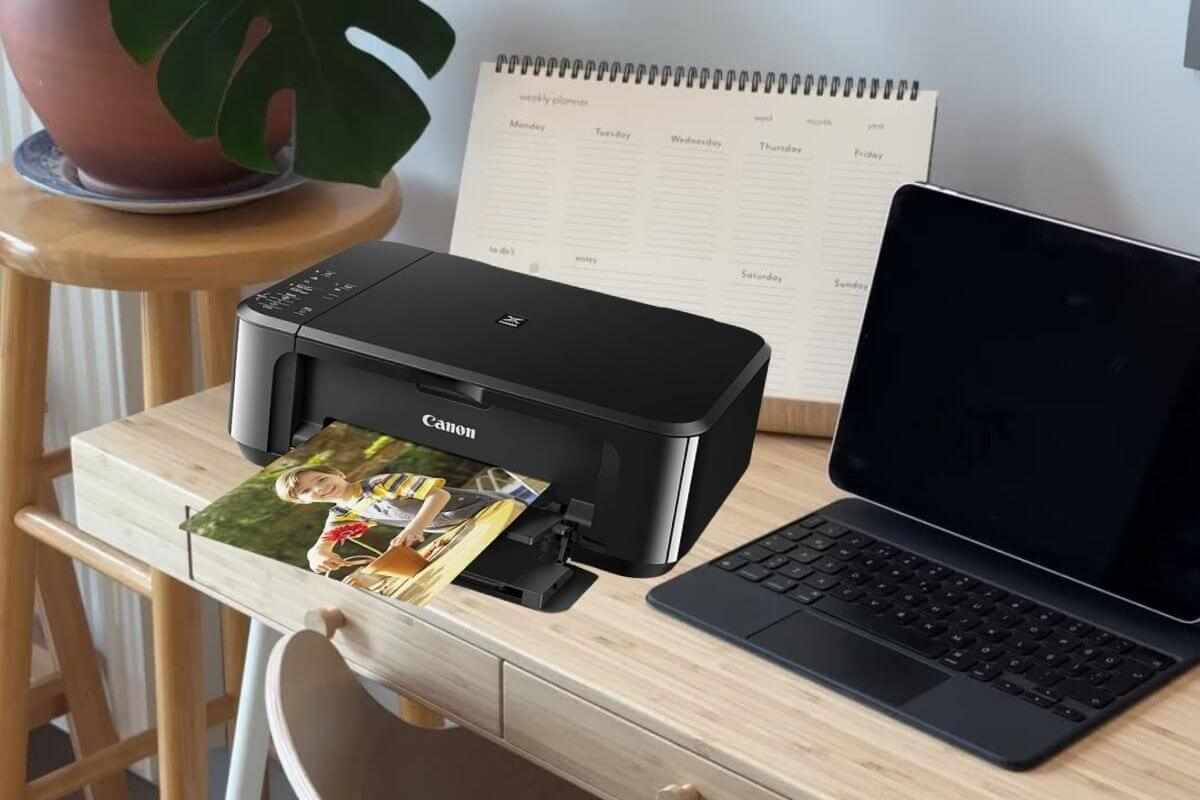
15. Printing from a Smartphone or Tablet
You can print wirelessly from mobile devices using several methods:
Canon PRINT Inkjet/SELPHY app
Apple AirPrint (for iOS)
Mopria Print Service (for Android)
Google Cloud Print (legacy models)
Simply connect your phone to the same Wi-Fi as the printer and send the print command directly from your device.
16. Resetting Canon Printer Network Settings
If you change your Wi-Fi router or face repeated connection issues, reset your printer’s network settings.
Steps to Reset:
On your printer, press Setup or Menu.
Navigate to Device Settings > Reset Settings.
Select Reset All or LAN Settings Reset.
Confirm with OK.
Now, reconnect using the setup methods discussed earlier.
17. FAQs on How to Connect Canon Printer to WiFi
Q1. How do I connect my Canon printer to WiFi without a computer?
You can use the Canon PRINT Inkjet/SELPHY app or the WPS button method for quick setup.
Q2. What if my printer doesn’t support Wi-Fi?
You can still connect using a USB cable or Ethernet connection.
Q3. Why can’t my printer find my Wi-Fi network?
Make sure your network is 2.4GHz and SSID broadcasting is enabled.
Q4. Can I use a mobile hotspot for Wi-Fi printing?
Yes, most Canon printers support hotspot connections, but ensure signal stability.
Q5. How do I reconnect after changing my Wi-Fi password?
Reset the network settings on your printer and set it up again with the new password.
18. Common Mistakes to Avoid
Skipping driver installation.
Using an outdated Canon app.
Entering incorrect Wi-Fi credentials.
Placing the printer too far from the router.
Forgetting to enable Wi-Fi on the printer before setup.
19. Keeping Your Printer Software Updated
Canon regularly releases updates for better performance and security.
To update:
Visit ij.start.canon.
Search for your model.
Download and install the latest firmware or drivers.
Keeping your software updated ensures a smoother wireless printing experience.
20. Final Thoughts
Setting up your Canon printer wirelessly may sound complex, but with the right steps, it’s simple and efficient. Whether you’re using the control panel, WPS button, or Canon PRINT Inkjet/SELPHY app, you can connect your Canon printer to WiFi within minutes.
Once connected, enjoy the freedom to print from anywhere—your laptop, smartphone, or tablet—without worrying about cables.
By following this smart guide on how to connect Canon printer to WiFi, you’ll not only simplify your printing experience but also make it faster, more convenient, and clutter-free.
With Canon’s reliable technology, wireless printing is now effortless, efficient, and ready for the modern home or office.


Write a comment ...