To install your Canon printer on a computer, turn it on and connect via USB or WiFi. Download the latest drivers from the Canon website, run the installation software, and follow on-screen instructions. Set the printer as default and print a test page to ensure proper setup and functionality.
👉 Need more help? [Click Here: Live Chat]Or [Dial +1-801-878-6858 USA]
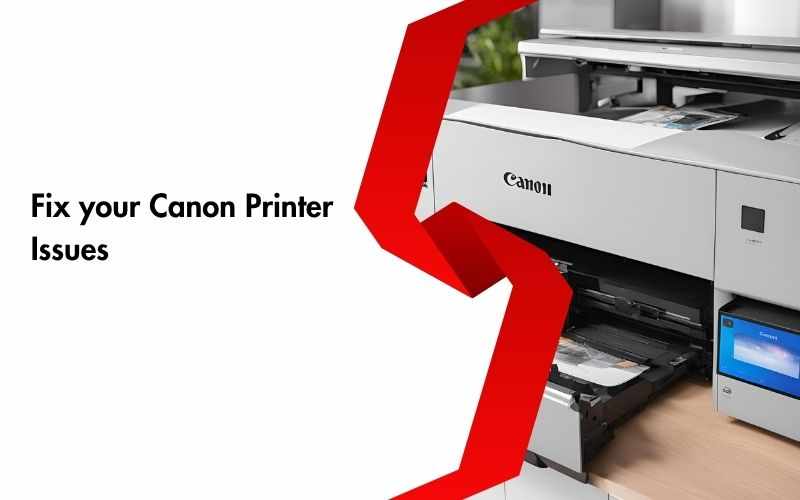
How to Install My Canon Printer to My Computer: Step-by-Step Guide
Installing a Canon printer on your computer is essential for printing, scanning, and managing documents efficiently. Whether you’re setting up a new printer or reconnecting an existing one, following the correct installation process ensures smooth operation.
This guide provides detailed instructions for Windows and Mac users, covering both wired (USB) and wireless (WiFi) setups, along with troubleshooting tips and FAQs.
Why Proper Installation Is Important
Correctly installing your Canon printer:
Ensures the printer communicates with your computer effectively.
Allows access to all printer features, including scanning and duplex printing.
Prevents driver conflicts and printing errors.
Enables wireless printing from computers, tablets, or smartphones.
Step 1: Prepare for Installation
Before you start:
Unbox the printer and remove all protective tapes and packaging.
Ensure the printer has ink cartridges installed and paper loaded.
Connect the printer to a power source and turn it on.
Confirm your computer is connected to the same network if using WiFi.
Step 2: Install Canon Printer on Windows
Method 1: Using USB Connection
Connect the printer to your computer using a USB cable.
Windows may automatically detect the printer. If not:
Go to Control Panel > Devices and Printers > Add a Printer.
Select your Canon printer from the list.
Download and install the latest drivers from Canon Support.
Follow on-screen instructions to complete installation.
Set the printer as default: Control Panel > Devices and Printers > Right-click Printer > Set as Default Printer.
Print a test page to confirm proper setup.
Method 2: Using WiFi Connection
On the printer, navigate to Menu > Wireless LAN Settings > Wireless LAN Setup.
Select your WiFi network and enter the password.
On your computer, download the Canon driver and software.
Run the installation program and select Wireless Connection when prompted.
Follow on-screen instructions to complete setup and test printing.
Step 3: Install Canon Printer on Mac
Method 1: USB Connection
Connect the printer to your Mac using a USB cable.
Go to System Preferences > Printers & Scanners > + (Add Printer).
Select your Canon printer from the list.
Install the recommended drivers and software if prompted.
Print a test page to ensure proper installation.
Method 2: Wireless Installation
On the printer, enable WiFi via Wireless LAN Setup.
Connect your Mac to the same WiFi network.
Download and install the latest Canon drivers and software.
Add the printer via System Preferences > Printers & Scanners > + (Add Printer).
Select your Canon printer and complete installation.
Step 4: Install Canon Printer on Mobile Devices
Download the Canon PRINT Inkjet/SELPHY app from the App Store (iOS) or Google Play Store (Android).
Ensure your printer and device are on the same WiFi network.
Open the app and follow prompts to detect and install the printer.
Test printing from your mobile device.
Troubleshooting Canon Printer Installation
1. Printer Not Detected
Check USB cables or WiFi connection.
Restart the printer and computer.
Ensure drivers are correctly installed.
2. Driver Issues
Uninstall previous or conflicting drivers.
Download the latest drivers from Canon Support.
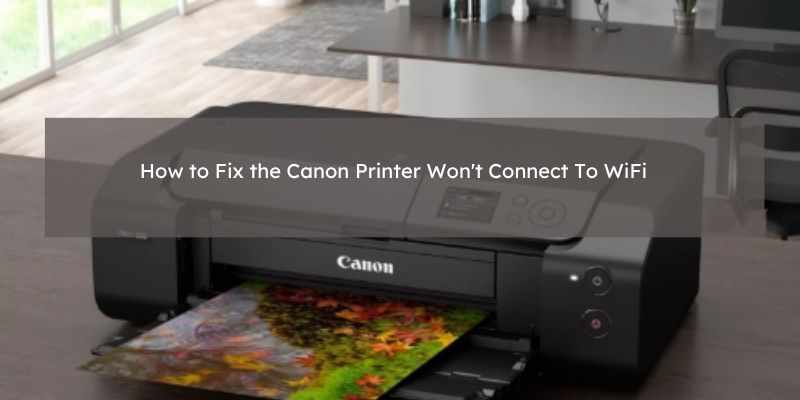
3. Wireless Connection Problems
Verify WiFi password and network SSID.
Place printer closer to the router.
Disable firewall temporarily if it blocks communication.
4. Printer Offline
Set the printer as default.
Clear pending print jobs.
Restart devices to refresh the connection.
Tips for Smooth Printer Installation
Always use genuine Canon drivers and software.
Keep your printer firmware updated.
Use a stable WiFi connection for wireless setups.
Place the printer in a location with minimal interference.
Regularly clean printheads and maintain the printer for optimal performance.
FAQs About Installing Canon Printers
Q1: Can I install a Canon printer without a CD?
Yes. You can download the latest drivers and software from Canon Support for Windows, Mac, or mobile devices.
Q2: How do I set my Canon printer as default?
Windows: Control Panel > Devices and Printers > Right-click Printer > Set as Default.
Mac: System Preferences > Printers & Scanners > Select Printer > Set as Default.
Q3: Why is my Canon printer not detected?
Causes include faulty cables, wrong ports, outdated drivers, or network issues. Restarting devices and reinstalling drivers usually resolves the problem.
Q4: Can I print from my phone after installation?
Yes. Use the Canon PRINT app, AirPrint (iOS), or Google Cloud Print (Android) to print wirelessly.
Q5: Do I need an internet connection for installation?
Yes, for downloading drivers, software updates, and connecting wireless printers to your network.
Final Thoughts
Installing a Canon printer to your computer is straightforward when you follow the correct steps. Whether using USB, WiFi, or mobile devices, proper installation ensures reliable printing, scanning, and full access to printer features. Regular updates and maintenance enhance performance and prevent future installation issues.


Write a comment ...