
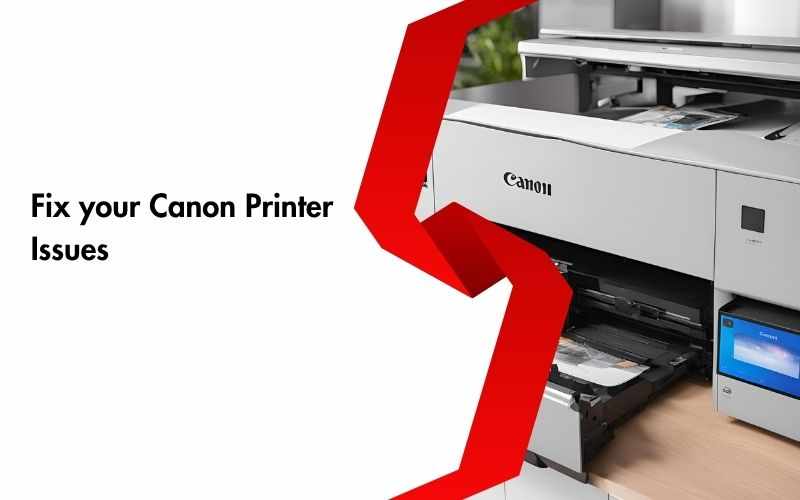
Setting up your Canon printer is straightforward with the official Canon setup portal, ij.start.canon. This guide provides step-by-step instructions to help you install drivers, connect your printer, and begin printing.
👉 Need more help? [Click Here: Live Chat] [Dial +1-801-878-6858 USA]
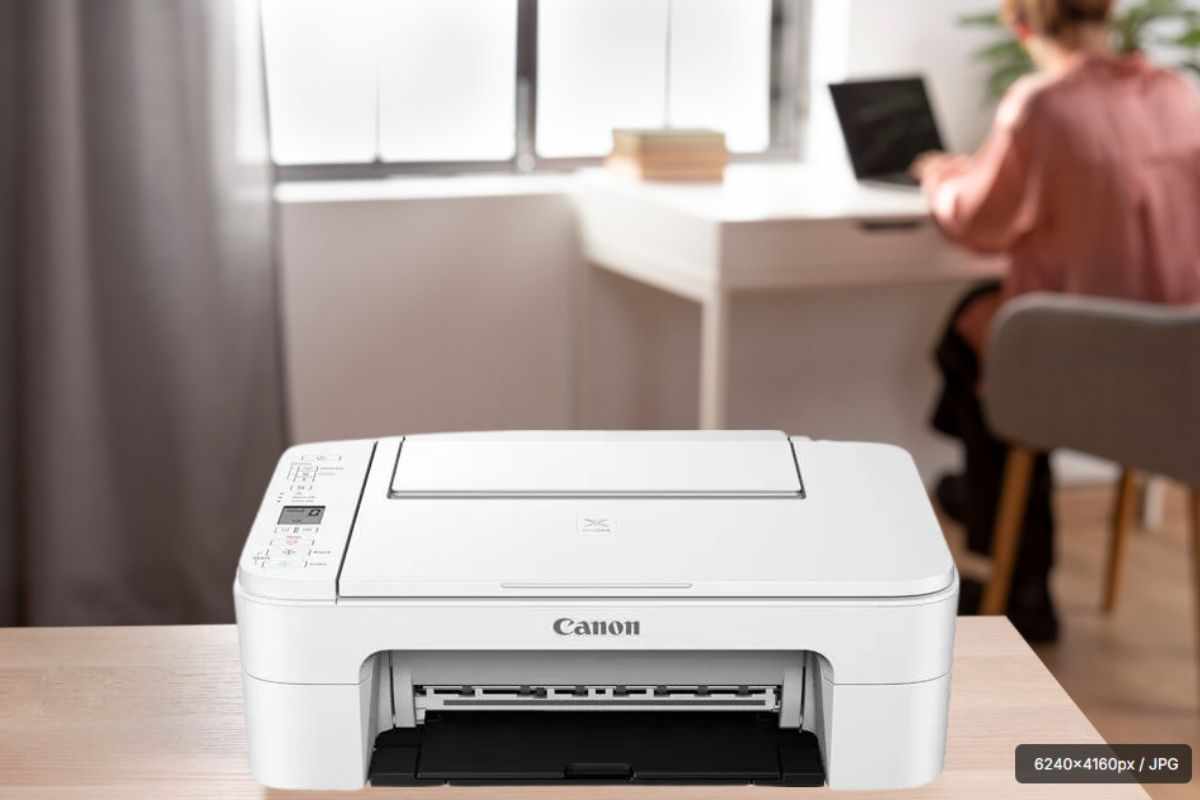
Step 1: Unbox and Prepare Your Printer
Remove all packaging materials, including protective tapes and plastic covers.
Connect the power cord to your printer and plug it into a power outlet.
Turn on the printer using the power button.
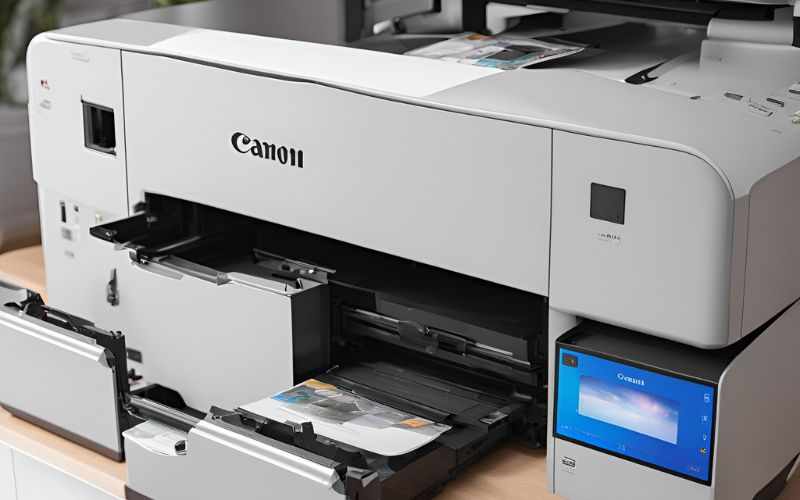
Install the ink cartridges by opening the cartridge compartment, inserting the cartridges until they click into place, and then closing the compartment.
Load paper into the paper tray, adjusting the guides to fit the paper size.
Step 2: Access the Setup Page
Open your preferred web browser (e.g., Chrome, Safari, Edge).
Navigate to https://ij.start.canon.
Alternatively, you can visit https://canon.com/ijsetup.
Step 3: Locate Your Printer Model
On the setup page, click on the “Set Up” button.
Enter your printer model name in the search field.
If you're unsure of your printer model, check the top or front panel of your printer for the model name.
Step 4: Download and Install Drivers
After selecting your printer model, the website will automatically detect your operating system (Windows, macOS, etc.).
Click the “Download” button to obtain the latest drivers and software for your printer.
Once the download is complete, open the installer and follow the on-screen instructions to install the necessary software.
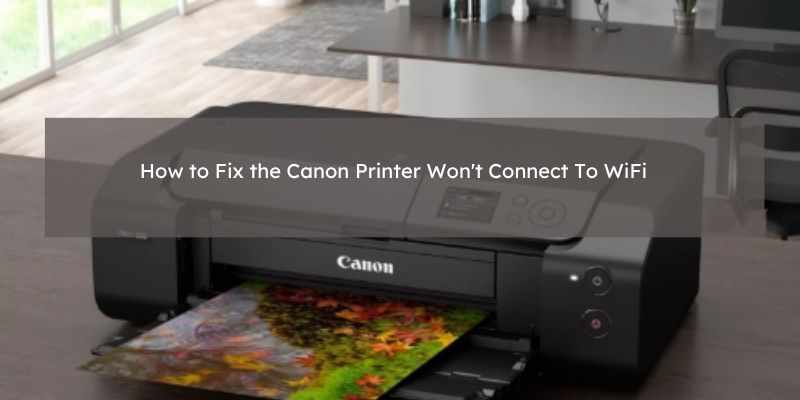
Step 5: Connect Your Printer to Wi-Fi (Wireless Setup)
Method 1: Using the WPS Button (Easy Setup)
Press and hold the Wi-Fi button on your printer until the Wi-Fi light starts blinking.
Within 2 minutes, press the WPS button on your Wi-Fi router.
Your printer will automatically connect to the Wi-Fi network.
Method 2: Manual Wireless Connection
On the printer's control panel, press the Menu button.
Navigate to Network Settings > Wireless LAN Setup.
Select your Wi-Fi network from the list of available networks.
Enter your Wi-Fi password using the printer's keypad.
Confirm the settings to complete the connection.
Step 6: Add Printer to Your Device
For Windows:
Go to Settings > Devices > Printers & Scanners.
Click “Add a printer or scanner”.
Select your Canon printer from the list and click “Add device”.
For macOS:
Open System Preferences > Printers & Scanners.
Click the “+” button to add a printer.
Select your Canon printer from the list and click “Add”.
Step 7: Print a Test Page
Open any document or image on your computer.
Select File > Print.
Choose your Canon printer from the list of available printers.
Click “Print” to ensure the printer is functioning correctly.
Mobile Setup (Optional)
For printing from smartphones or tablets, download the Canon PRINT Inkjet/SELPHY app from the App Store (iOS) or Google Play Store (Android). Follow the in-app instructions to connect your mobile device to the printer.
Troubleshooting Tips
Printer Not Detected: Ensure both your printer and computer are connected to the same Wi-Fi network.
Slow Printing Speed: Check for any paper jams or low ink levels.
Printer Offline Error: Restart both your printer and computer, and ensure the printer is set as the default printer in your system settings.


Write a comment ...