
Setting up a Canon IJ Wireless printer involves powering on the printer, accessing the wireless LAN settings, and selecting your WiFi network. Enter the password to connect. Install the latest Canon IJ drivers and software on your computer or mobile device. Test printing to ensure successful wireless setup.
👉 Need more help? [Click Here: Live Chat]Or [Dial +1-801-878-6858 USA]
Canon IJ Wireless Printer Setup: Complete Step-by-Step Guide
Canon IJ series printers provide high-quality printing with the convenience of wireless connectivity. Setting up your Canon IJ printer on a WiFi network allows printing from computers, laptops, smartphones, and tablets without the need for cables.
This guide covers everything from unboxing your printer to connecting it wirelessly, installing drivers, and troubleshooting common issues to ensure a seamless printing experience.
Why Choose Wireless Setup for Canon IJ Printers
Connecting your Canon IJ printer to WiFi allows:
Wireless printing from multiple devices simultaneously.
Mobile printing using Canon PRINT Inkjet/SELPHY app, AirPrint (iOS), or Google Cloud Print (Android).
Convenient placement of the printer anywhere within WiFi range.
Sharing the printer across a home or office network.
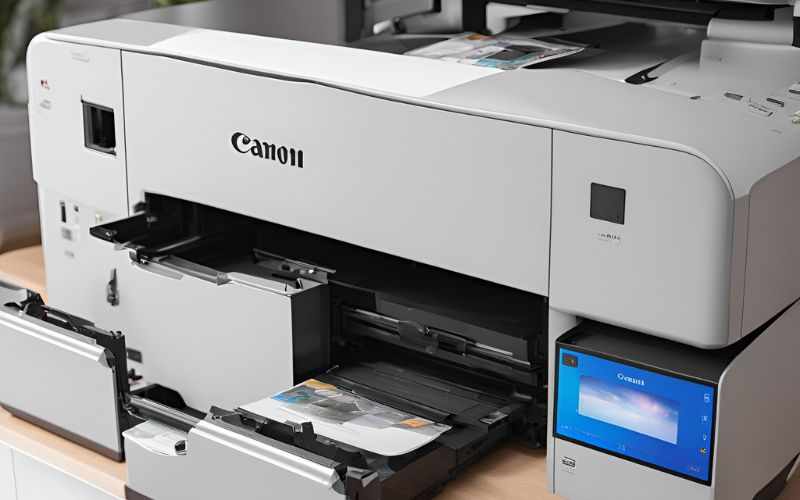
Step 1: Prepare Your Canon IJ Printer
Unbox the printer and remove all protective packaging and tapes.
Install ink cartridges and load paper.
Connect the printer to a power source and turn it on.
Ensure your WiFi network is active and accessible.
Step 2: Wireless Setup Using Printer Control Panel
Access Wireless Settings
On the printer’s control panel, navigate to Menu > Wireless LAN Settings > Wireless LAN Setup.
Select Your WiFi Network
The printer scans for available networks.
Choose your network SSID (name) from the list.
Enter WiFi Password
Input your network password carefully.
Confirm to connect.
Confirm Connection
The printer will display a confirmation once connected.
Print a network configuration page to verify.
Step 3: Wireless Setup Using WPS (Wi-Fi Protected Setup)
Press the WiFi button on your Canon IJ printer until the light flashes.
Within 2 minutes, press the WPS button on your router.
The printer will automatically connect to the WiFi network.
Confirm connection by printing a network status page.
Note: WPS is available only if your router supports it.
Step 4: Install Canon IJ Drivers on Your Computer
For Windows:
Download the latest Canon IJ drivers from Canon Support.
Run the installation software and select Wireless Connection.
Follow on-screen instructions to complete installation.
Set the printer as default and print a test page.
For Mac:
Download the latest Canon IJ drivers from the Canon website.
Go to System Preferences > Printers & Scanners > + (Add Printer).
Select your Canon IJ printer from the list and complete installation.
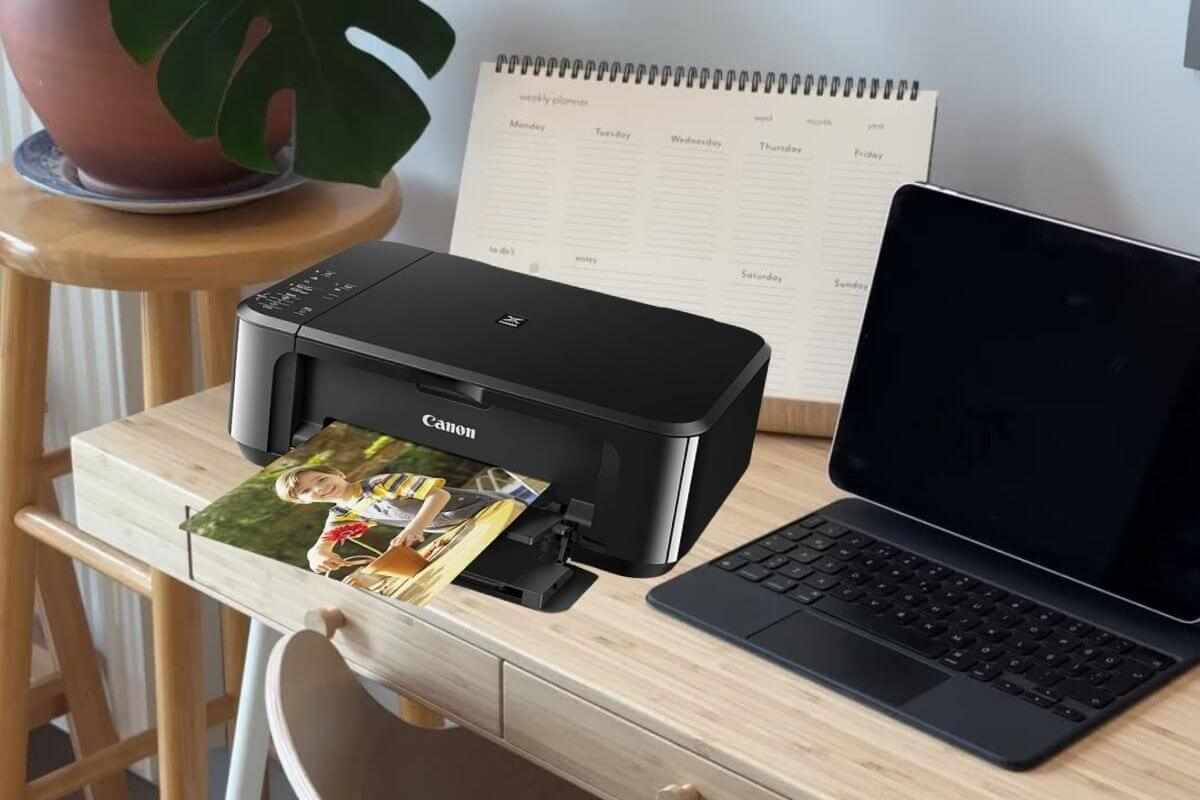
Step 5: Install Canon IJ Printer on Mobile Devices
Download the Canon PRINT Inkjet/SELPHY app from the App Store (iOS) or Google Play Store (Android).
Ensure your printer and device are on the same WiFi network.
Open the app and follow prompts to detect and install the printer.
Test printing to confirm successful connection.
Troubleshooting Canon IJ Wireless Printer Setup
1. Printer Not Detected
Ensure the printer and computer/device are on the same WiFi network.
Restart the printer, router, and computer/device.
2. Weak WiFi Signal
Place the printer closer to the router.
Avoid walls or electronic devices that interfere with signals.
3. Incorrect WiFi Credentials
Double-check your SSID and password.
Re-enter credentials if necessary.
4. Driver or Software Issues
Uninstall old drivers and install the latest version from Canon’s official website.
5. Printer Offline
Set the printer as default.
Clear pending print jobs.
Restart devices to refresh connection.
6. WPS Connection Not Working
Ensure the router supports WPS and try again.
If unsuccessful, use manual wireless LAN setup.
Tips for a Smooth Wireless Setup
Keep your Canon IJ printer within WiFi range.
Use a strong, stable network for reliable printing.
Update printer firmware and drivers regularly.
Avoid placing the printer near microwaves or cordless phones to reduce interference.
Limit the number of devices connected simultaneously if network issues occur.
FAQs About Canon IJ Wireless Printer Setup
Q1: Can I connect my Canon IJ printer without a computer?
Yes. You can use the printer’s control panel or WPS method to connect directly to WiFi.
Q2: Why does my Canon IJ printer fail to connect to WiFi?
Common reasons include weak WiFi signal, incorrect network credentials, outdated drivers, or incompatible network bands.
Q3: How do I check if my Canon IJ printer is connected?
Print a network configuration page from the printer’s menu to verify WiFi connection.
Q4: Can I print from my smartphone after setup?
Yes. Use the Canon PRINT app, AirPrint (iOS), or Google Cloud Print (Android).
Q5: What if WPS doesn’t work?
Try the manual wireless LAN setup via the printer control panel or use Canon software on your computer or mobile device.
Final Thoughts
Setting up a Canon IJ Wireless printer ensures flexible, cable-free printing from multiple devices. By following the steps outlined—using either manual setup, WPS, or Canon software—you can quickly connect your printer to WiFi. Proper placement, updated drivers, and maintenance guarantee a stable and seamless printing experience.


Write a comment ...